


Mango-kookosetort valge šokolaadi krõbedikuga Ma ei tea, kuidas teiega on,...
Read more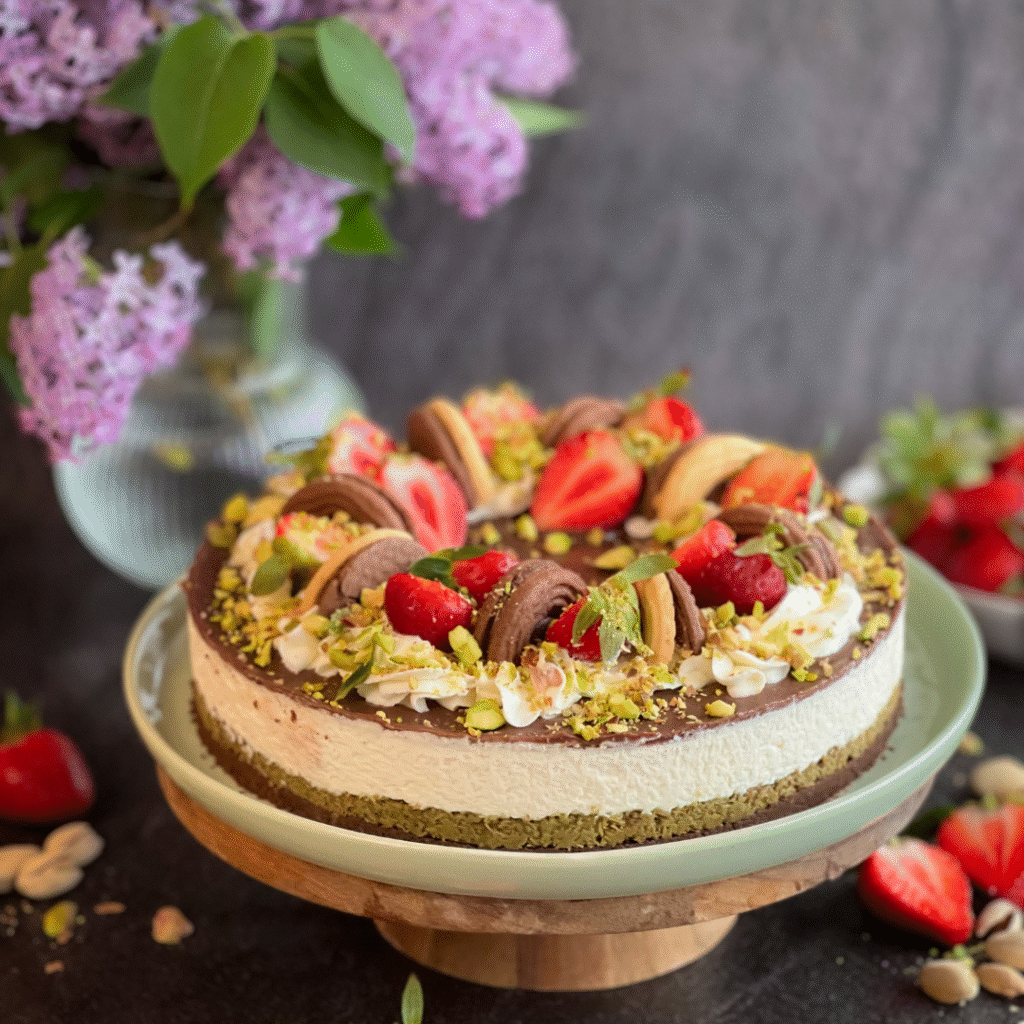
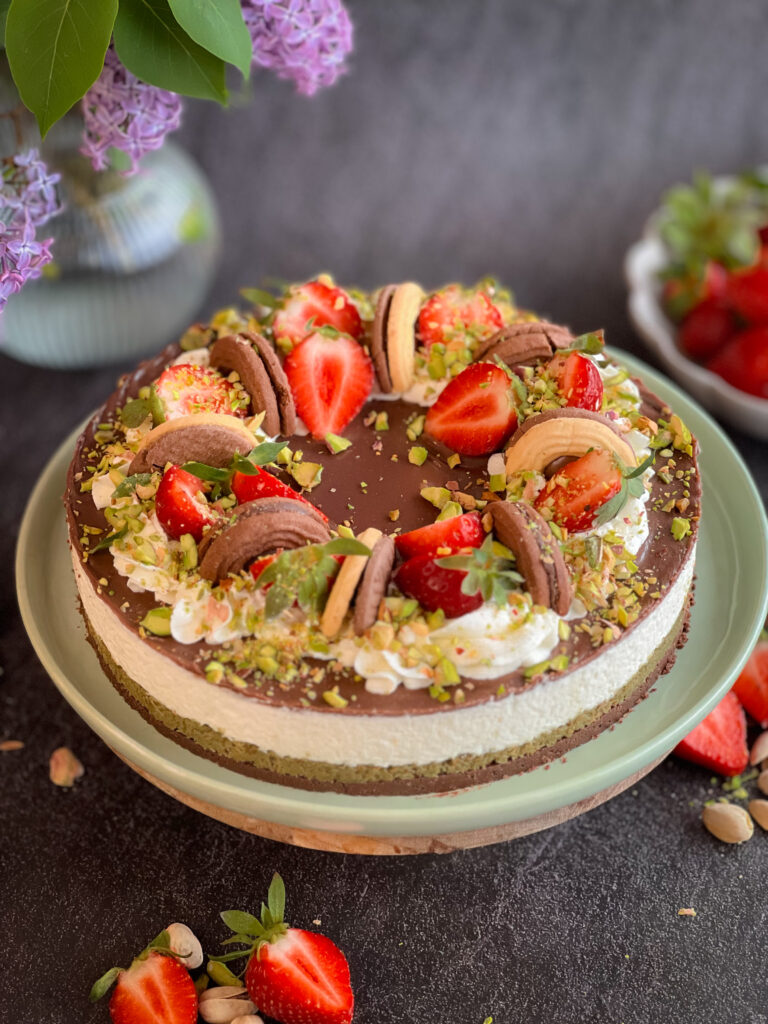
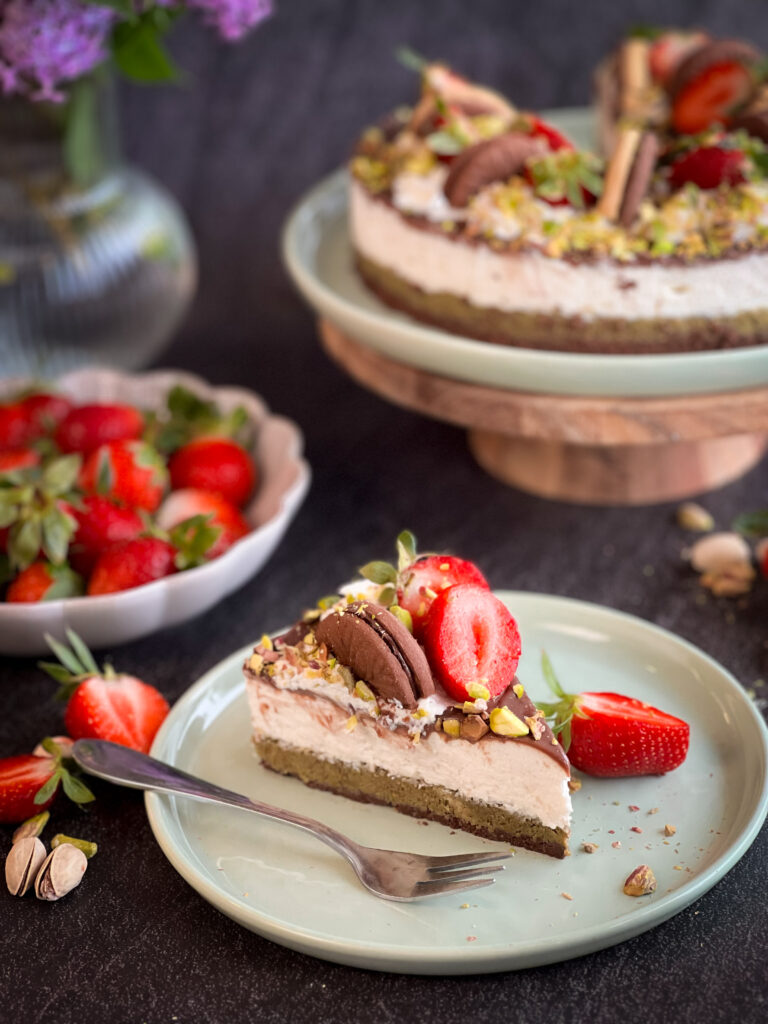

“Dubai Chocolate” Cream Cheesecake
“Dubai Chocolate” Cream Cheesecake Even before new trends come into play,...
Read more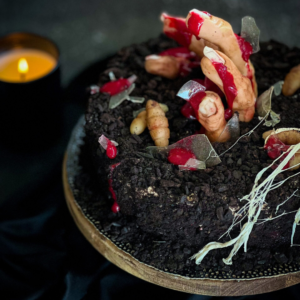
Brownie cake for Halloween
Brownie cake for Halloween Halloween is almost here and...
Read more